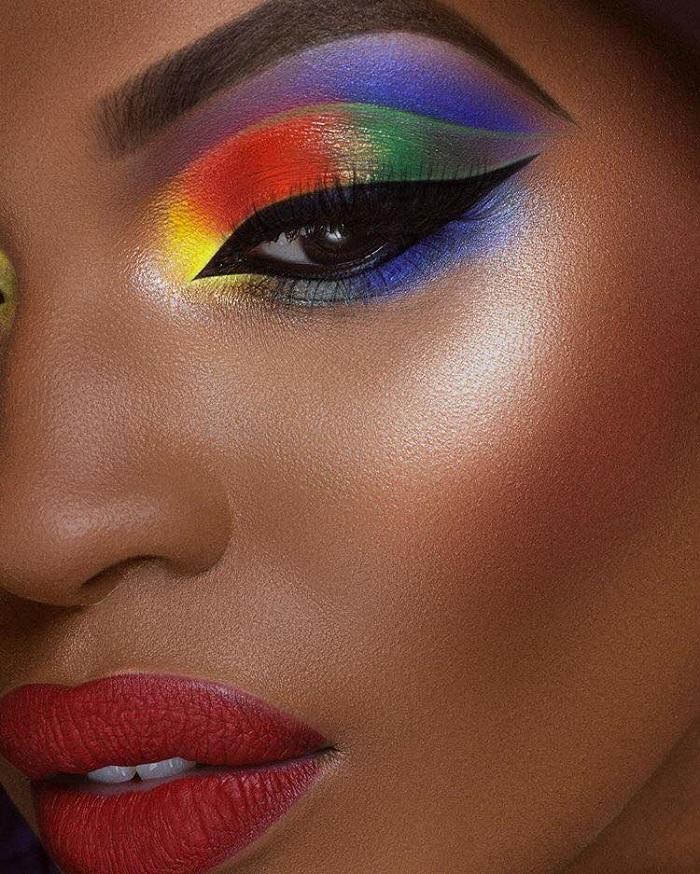
Eyeshadow is a makeup product that can completely revolutionize your eyes, whether it’s adding a bold pop of color, creating a dramatic smokey eye<, or totally changing the eye shape with strategic application. Once you learn the basic first steps on how to put on eyeshadow, you can learn more to make you a true eyeshadow pro. To apply eyeshadow flawlessly, you’ll want to learn about the right tools to use, understand how to achieve different effects with different eyeshadow tones, and of course know how to apply eyeshadow to the eyes. We’ve got you, and your eyes, covered with all this important beauty information, so that you can truly get great looks from your favorite eyeshadow palettes.
Have the Right Tools
The first thing you should know about applying eyeshadow is what tools to use. In addition to the sponge tip eyeshadow applicators that come with your palettes, there are an array of eyeshadow brushes that serve different purposes. Here are five you should know about:
- Blending brush: This eyeshadow brush is more on the fluffy side, allowing you to blend harsh lines easily. It can come in a round, or tapered shape.
- Crease brush: The crease brush is all about depositing eyeshadow right in the eye crease. The rounded shape, which at times can be more pointed, helps put the shadow exactly where you want it, and nowhere else.
- Flat eyeshadow brush: This brush features bristles that are densely packed to create a flat appearance. This brush lets you pick up colors and deposit it on the eyelid.
- Angled eyeshadow brush: An angled eyeshadow brush will allow you to add eyeshadow more precisely, whether it’s adding a highlighting color to the brow bone, or applying dark eyeshadow along the lash line as an eyeliner.
- Smudge brush: A smudge eyeshadow brush will help you smudge eyeliner and eyeshadow with short, densely-packed bristles, in a rounded shape. It’s smaller shape lets you get right into the upper and lower lash lines.
- Pencil brush: A pencil eyeshadow brush is smaller than other brushes, and is meant to have the precision of a pencil. You want to use this brush to do things like get a precise eyeshadow liner, and smudge with more control.
Understand What Eyeshadow Does
Once you establish what shape of eyes you have (you can learn more about that in our post about the perfect eyeshadow for your eye shape), and learn what effect different tones of eyeshadow will have on the eye, you’ll have a better idea on how to wear eyeshadow. Wherever you add a light-colored eyeshadow, such as along the brow bone, and the center of the bottom lid, that part of the eye will be brought forward, and attention will be drawn to it. And just the opposite is true with dark eyeshadow; wherever you add a dark hue, it will pull the eye back, and minimize.
How to Apply
To get started, let’s recreate a simple, everyday eyeshadow look (our The Taupes, The Nudes, The Chocolates, and The Nubian eyeshadow palettes are great for achieving this look). You can start by applying primer to the eyelid if you want; doing so will ensure that your shadow stays put. You’ll then want to select three colors from your eyeshadow palette: one light, one medium, and one dark. Using the sponge tip eyeshadow applicator that comes with your palette, or a brush, apply the medium-toned color all over the eye. Then, apply the lightest hue to the brow bone, and either the center of the bottom lid (to make it pop), or all along the bottom lid. Finally, apply the darkest hue to the crease of the eye and blend. If your eyes are hooded, you will want to bring the dark color up more so that it is visible when the eye is open. Finish with some eyeliner, and a swipe or two of mascara, and you have a fabulous eye look!
Once you get this initial everyday eyeshadow tutorial down, everything else moving forward will just be different variations of this, based on the colors, placement, and effects you are looking for.

