Eyeliner is the perfect makeup product for enhancing and literally drawing attention to the eyes. A subtle, thin line can make your lashes and eyes pop more, while a thick, bold line can serve as the beginning of a smokey eye, or another dramatic, look-at-me moment. Liner is the basis of so many incredible makeup looks, and a true beauty staple.
The right eyeliner tricks can also completely change the appearance of your eyes, camouflaging imperfections, highlighting what you want to be highlighted, and creating optical illusions. It’s important to know how to apply eyeliner in a way that’s complementary to your particular eye shape. After all, we want to make cosmetics work for us instead of against us! So, we decided to put together this quick and handy guide on the best eyeliner looks, according to your eye shape.
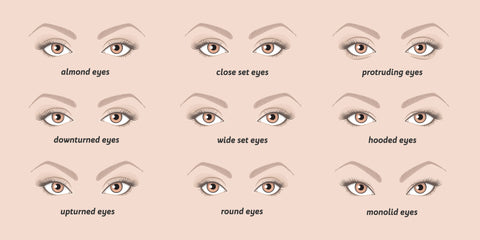
Round Eyes
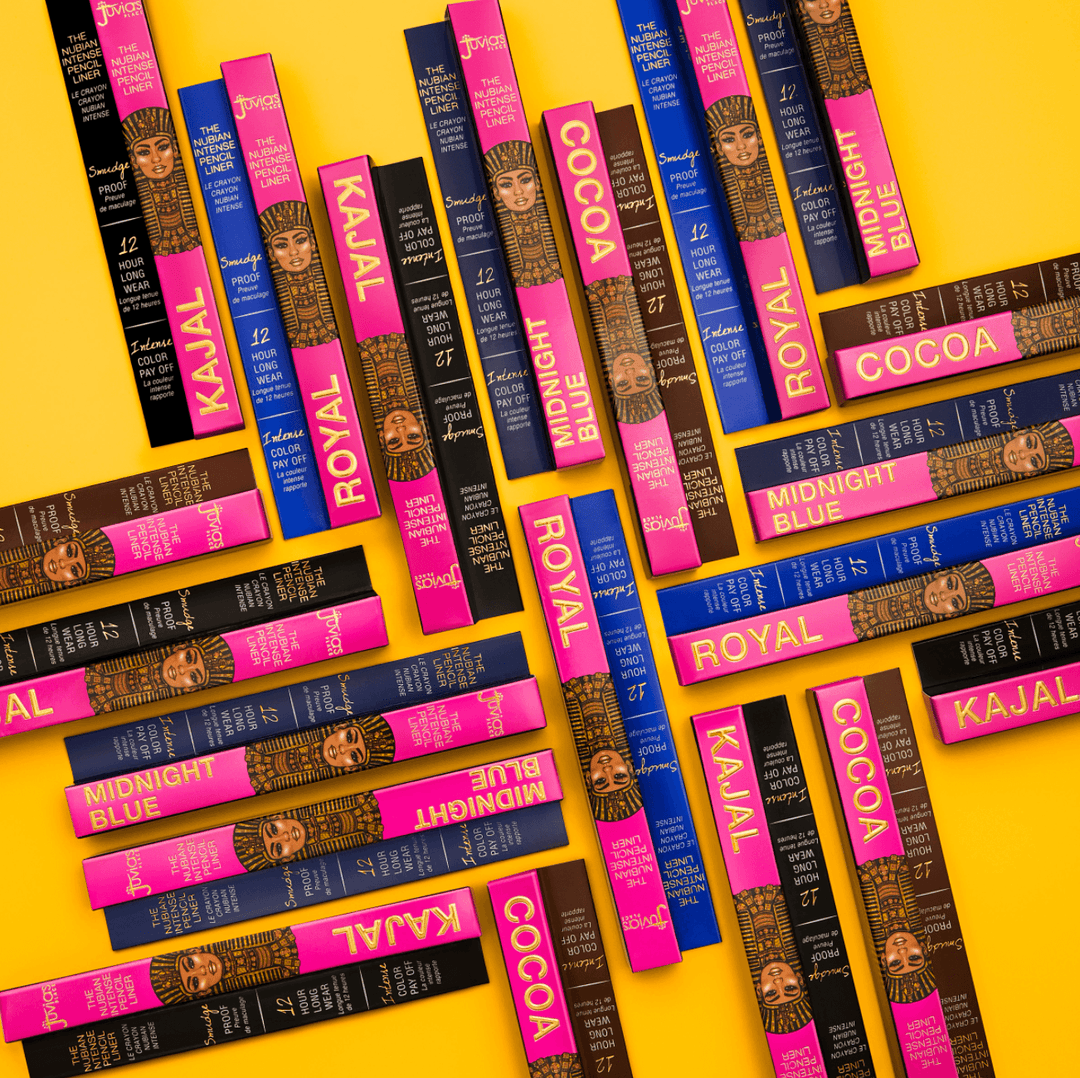
The first thing you should know about eyeliner is that light colors will highlight or bring forward parts of your eyes, and dark colors will recede parts of the eye. For round eyes, if you want more of a cat eye, elongated look, start applying your liner at the center of the lid and extend outwards past the end of the eye (check out our Nubian Pencil Eyeliner, which comes in four colors: Kajal, Cocoa, Midnight Blue, and Royal!).
Almond Eyes
Almond-shaped eyes are symmetrical, so can get away with several eyeliner looks. To play up your natural eye shape, start with a thinner line at the inner corner, and build up to a thicker line at the outer corner.

Upturned Eyes
To offset upturned-shaped eyes, you can sweep your eyeliner out, while also including liner on the bottom that will pull down the eye visually. Or, you can enhance this eye shape, by playing into the upward motion, using upwards-swooping eyeliner. We recommend using the i Line, i Define Pen Eyeliner.
Downturned Eyes
On the flip side, if your eyes naturally turn down at the outer corners, you’ll want to sweep your eyeliner up at the end to add some lift. You should opt to not wear liner on the bottom (or wear a lighter color), as it could drag a downturned eye down further.

Close-Set Eyes
For those with close-set eyes, you’ll want to use eyeliner on the outside corners of the eyes, and lighter colors on the inside. This will create the effect that the eyes are more far apart. If you place a dark liner on the inner corners of the eye, it will make your eyes appear more close set.
Wide-Set Eyes
With wide-set eyes, you’ll be applying eyeliner opposite of how you would with close-set eyes. To bring the eyes closer together, you should put the darker colors on the inside, and lighter colors on the ends.

Monolid and Hooded Eyes
Hooded (a low-hanging crease) and monolid eyes (no crease) make it difficult to see eyeshadow and eyeliner looks when the eye is open. So, you’ll have to go a bit extra for your liner to be seen. This means sporting a thicker, bolder line, and extending the eyeliner past the outer corner of the eye so it’s seen with an open eye. You will also want to tightline your eyeliner (applying it to your waterline) and put on all liner with your eyes open (so you can make sure it’s visible with open eyes). Opt for a primer, and a waterproof formula (our Nubian Pencil Eyeliner is great) to avoid smudging.
Prominent Eyes
For those having prominent eyes, the trick is to use eyeliner that will push the eyes back. This means a dark color with a matte finish, (a shimmery liner will bring the eye outward). You can smudge your eyeliner up towards the crease to further give the optical illusion of pushing the eyes back (a smokey eye is perfect for this). Check out the i Line, i Define Liquid Eyeliner.

Deep-Set Eyes
Eyeliner application for deep-set eyes are opposite of that for prominent, or protruding eyes. You want to apply a lighter, and/or shimmery liner to the eye, which will make the eyes seem more prominent. Unlike with prominent eyes, you especially want to avoid dark colors in the crease of the eye, as they will emphasize the deep eye socket. Instead, light, sparkly colors help bring deep-set eyes forward.

