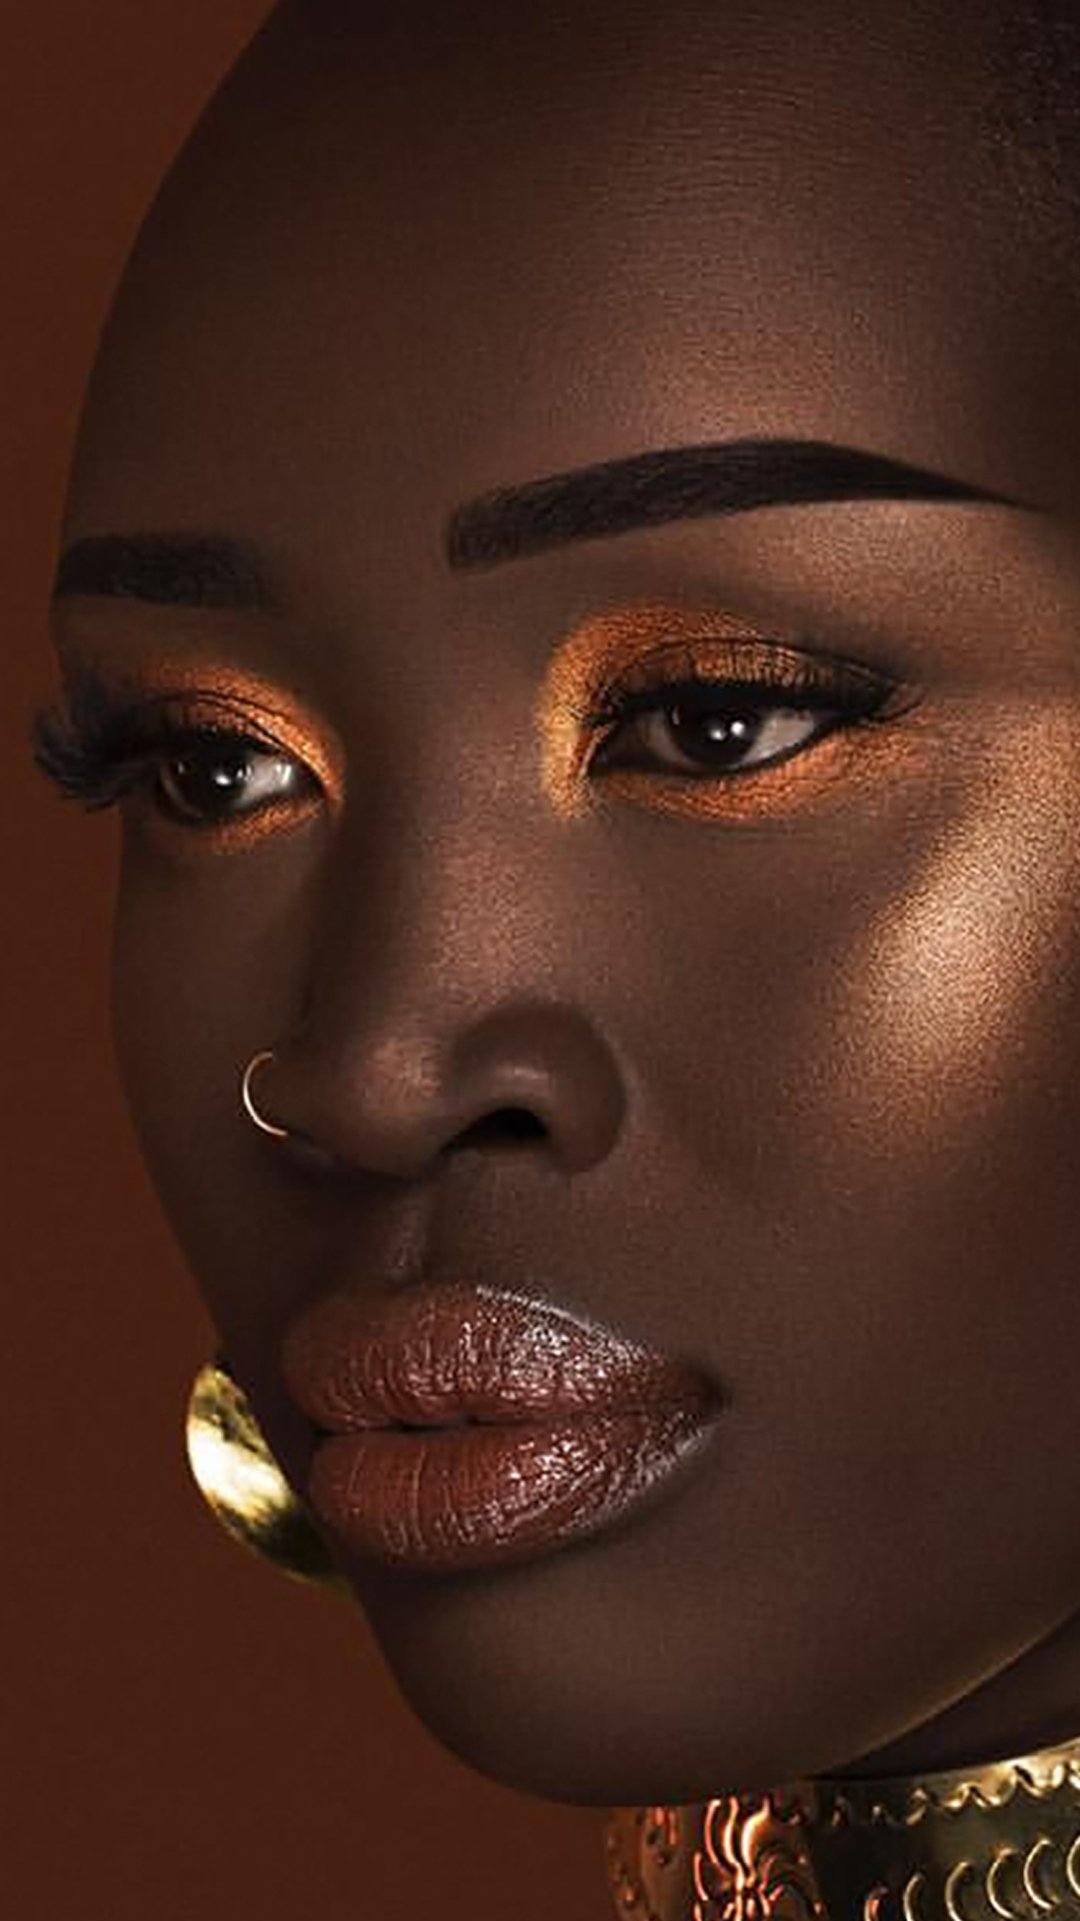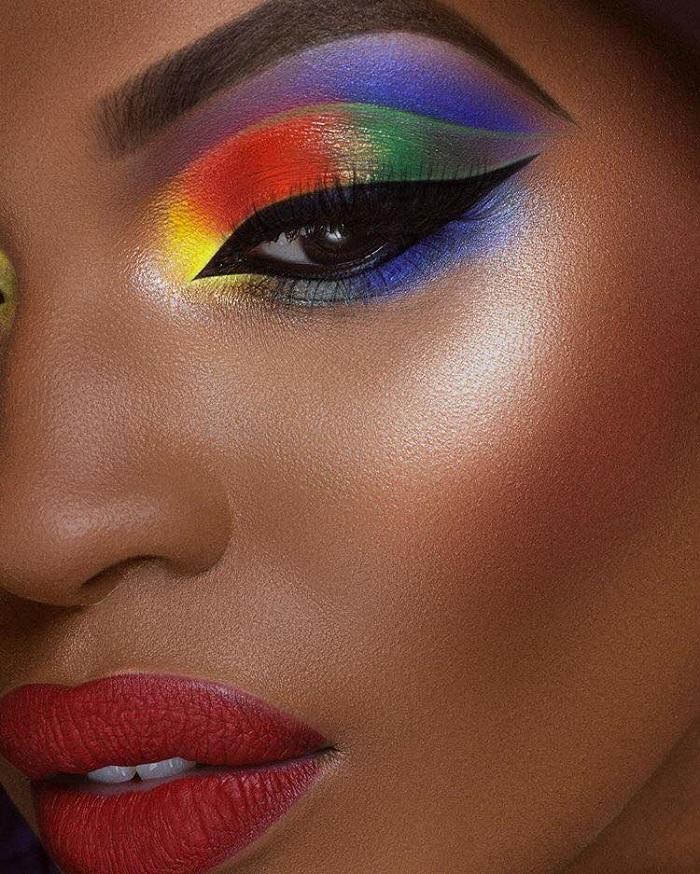
Highlighting literally shined bright as a major beauty trend in recent years, right along with its opposite and partner, contour makeup. Highlighter allows what seems like an invisible source of light to instantly illuminate our cheekbones, nose, brow bone, and other high points on the face. The effect is glowy, healthy, and youthful. And that’s a look that looks great on everyone.
Then, we heard about strobing. Strobing also dazzled everyone in the makeup world, and quickly became a major trend. But what exactly is strobing, and how does it differ from highlighting? We want you to always shine your brightest, inside and out, and to know all about the Juvia’s Place products you’re using. That’s why, in this blog post, we are going to demystify strobing, and share the best techniques for application. Shine on!
What is Strobing?
So, we’ve heard the word “strobing” everywhere when speaking about makeup, but what exactly is it? Strobing is applying highlighter to the high points of the face, such as the brow bone, tip of nose, and cheekbone. The difference between strobing and highlighting is that highlighting also uses contour makeup to make certain parts of the face, like the sides of the nose, and under the cheekbone. Strobing is also known for often being brighter and more over-the-top than highlighting.
How to Apply Highlighter
Now that we know exactly what the strobing technique is, it’s time to learn how to do it! The idea of both strobing and highlighting is to mimic the sun hitting the face. So, you’ll want to apply highlighter to the bridge of the nose and the tip, the Cupid’s bow, the center of the forehead, the brow bone, the cheekbones, the temples, the chin, and the inner corners of the eyes. If you are using a stick, cream, or liquid highlighter, you can use your fingers to apply it, but a brush or damp beauty sponge will keep oil from your fingers from getting onto your face. A brush or sponge is also perfect for applying powder highlighter, like our Tribe Highlighter. Blend gently, so that there are no harsh lines, and there is a natural, lit-from-within glow (you can also go full-out and apply more highlighter for more dramatic shine!).

Helpful Tips and Tricks For Strobing
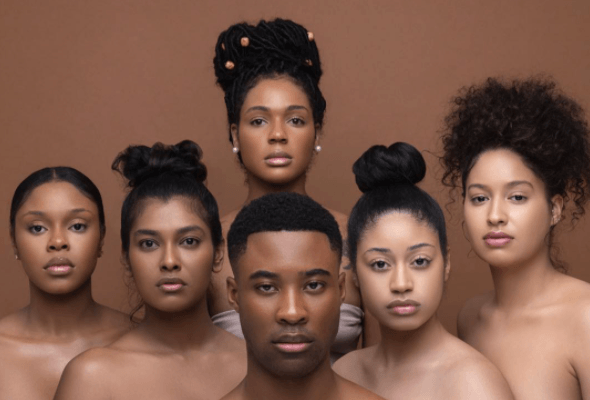
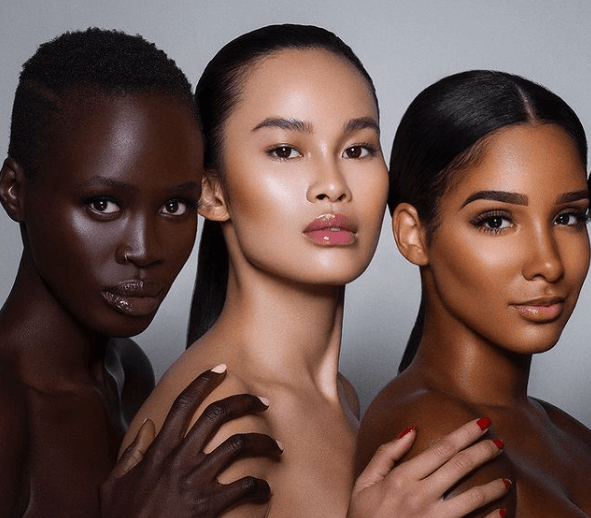
- You’ll want to choose a highlighter for strobing that works best on your skin tone. Select a highlighter that is one to two shades lighter than your skin, for a natural look. Light skin tones look good in pearlescent, icy white, and pink highlighter shades (our The Tribe Highlighter (Vol 3) is a great option). Medium and olive tones glow in peach, champagne, and gold highlighter (try our Nubian Loose Pearl Highlighting Powder in Nefertiti, or Cleo). Dark skin tones look great with a warm gold, bronze, or chocolate highlighter (our Nubian Loose Pearl Highlighting Powder in Nubian is a perfect option).
- Undertone is also important in choosing the right highlighter. If you have pink, red, or blue undertones to your skin, you are cool toned. Cool-toned highlighters in pearl white, lavender in pink shades will look great. Does your skin throw off yellow and/or golden tones? Then your skin is warm-toned. Opt for highlighters in peachy, bronze, or gold shades. Our Heroine Glow 1 and II Baked Highlighter Powders are universal, looking fabulous on warm, cool, and neutral (not seeming to throw off any undertones, or a mix of both) skin tones.
- You always want your skin to serve as a fresh, prepped canvas for any makeup you put on it. This means exfoliating and moisturizing the skin, so that your highlighter will look dewy, glowy, and healthy.
- Liquid and cream highlighters are great for adding moisture to dry skin. Oppositely, a powder highlighter will help absorb oil on oily skin (those with oily skin should also opt for a matte primer and matte foundation first, to keep any shine just where the highlighter sits).

